Nail Stamping 101 Techniques and Tools for Stunning Designs
Nail stamping is a popular and accessible nail art technique that allows you to create intricate, professional-looking designs with ease. By using specialized nail stamping plates and polishes, even beginners can achieve impressive results. In this article, we'll explore the basics of nail stamping, including the tools you'll need and essential techniques for successful nail stamping designs.
Tools for Nail Stamping
To get started with nail stamping, you'll need a few essential tools:
- Stamping plates: These are etched metal plates featuring various designs, patterns, and images. Choose plates with designs that suit your style and preferences.
- Stamper: A nail stamper is a small tool with a silicone or rubber head used to pick up and transfer the design from the stamping plate to your nail.
- Scraper: A scraper, typically made of plastic or metal, is used to remove excess nail polish from the stamping plate, leaving only the design filled with polish.
- Stamping polish: Specialized stamping polishes are thicker and more pigmented than regular nail polish, ensuring crisp, opaque designs. While it's possible to use some regular nail polishes for stamping, results may vary.
Preparing Your Nails
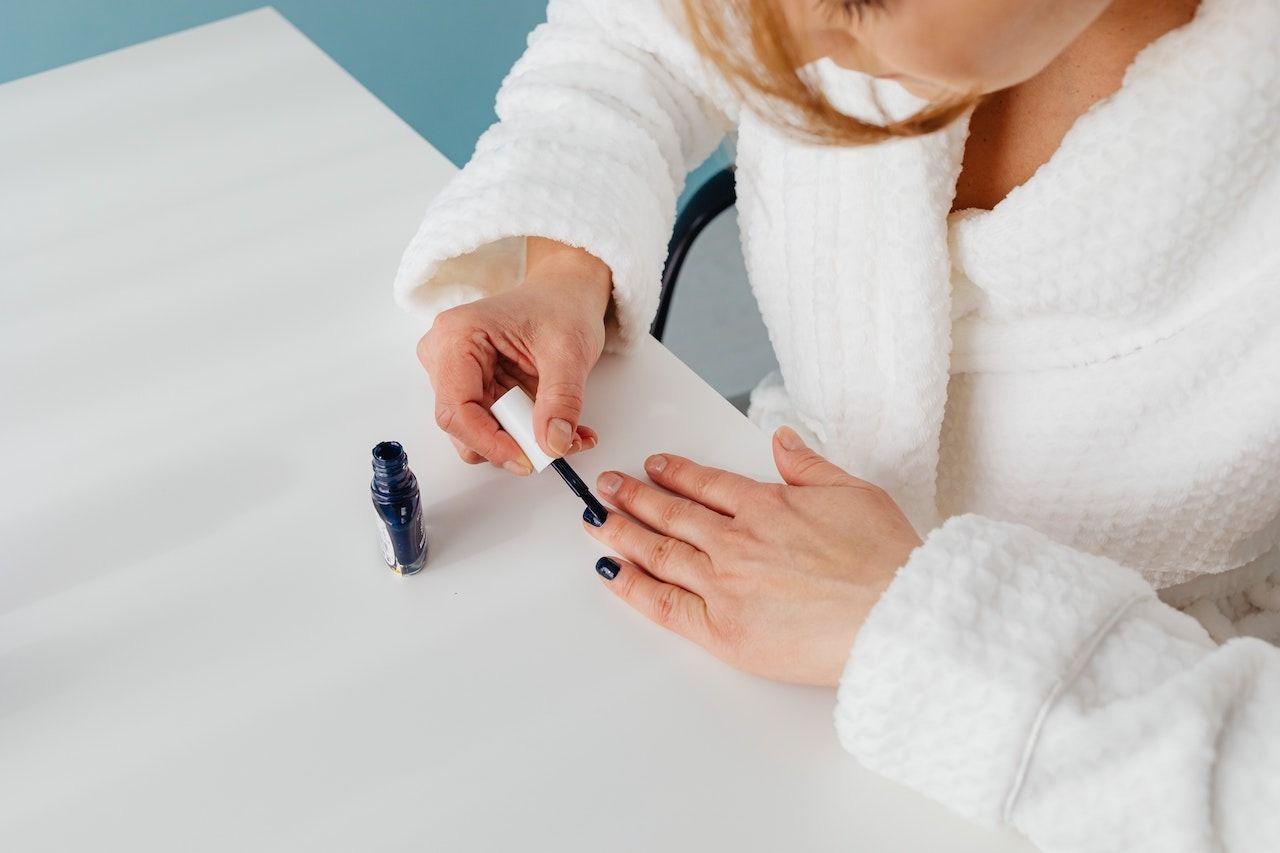
Before you begin nail stamping, ensure your nails are clean and dry, with a smooth surface for the design to adhere to. Apply a base coat and your desired base color, allowing them to dry completely before stamping.
Choosing Your Design
Select a design from your stamping plate that you'd like to apply to your nails. It's helpful to choose a design that suits the size and shape of your nails, ensuring a proper fit and a balanced appearance.
Applying Stamping Polish
Apply a generous amount of stamping polish to the chosen design on your stamping plate. Be sure to cover the entire design with polish to ensure crisp, even coverage.
Scraping Excess Polish
Hold your scraper at a 45-degree angle and swiftly scrape the excess polish off the stamping plate, revealing the design filled with polish. Be sure to clean your scraper between uses to prevent polish build-up.
Picking Up the Design
Press the stamper onto the design, using a rolling or straight-down motion, depending on your preference. The design should transfer from the plate to the stamper's head. Check to ensure the design is complete and free of any smudges or missing areas.
Transferring the Design
Quickly but carefully press the stamper onto your nail, using the same rolling or straight-down motion as before. The design should transfer from the stamper to your nail. If you're not satisfied with the placement or appearance of the design, you can remove it with nail polish remover and start again.
Finishing Touches
Once you're happy with your nail stamping design, allow the stamped polish to dry for a few minutes. To protect and seal your design, apply a topcoat, being careful not to smudge the design. Some nail artists recommend using a floating technique, where you apply the topcoat without the brush touching the design, to prevent smudging.

Nail stamping is an enjoyable and accessible technique for creating stunning, intricate nail designs at home. With the right tools and techniques, anyone can achieve professional-looking results. As you become more comfortable with nail stamping, don't be afraid to experiment with different designs, colors, and layering techniques to create unique, personalized nail art.


