Stylish nail design with a video tutorial
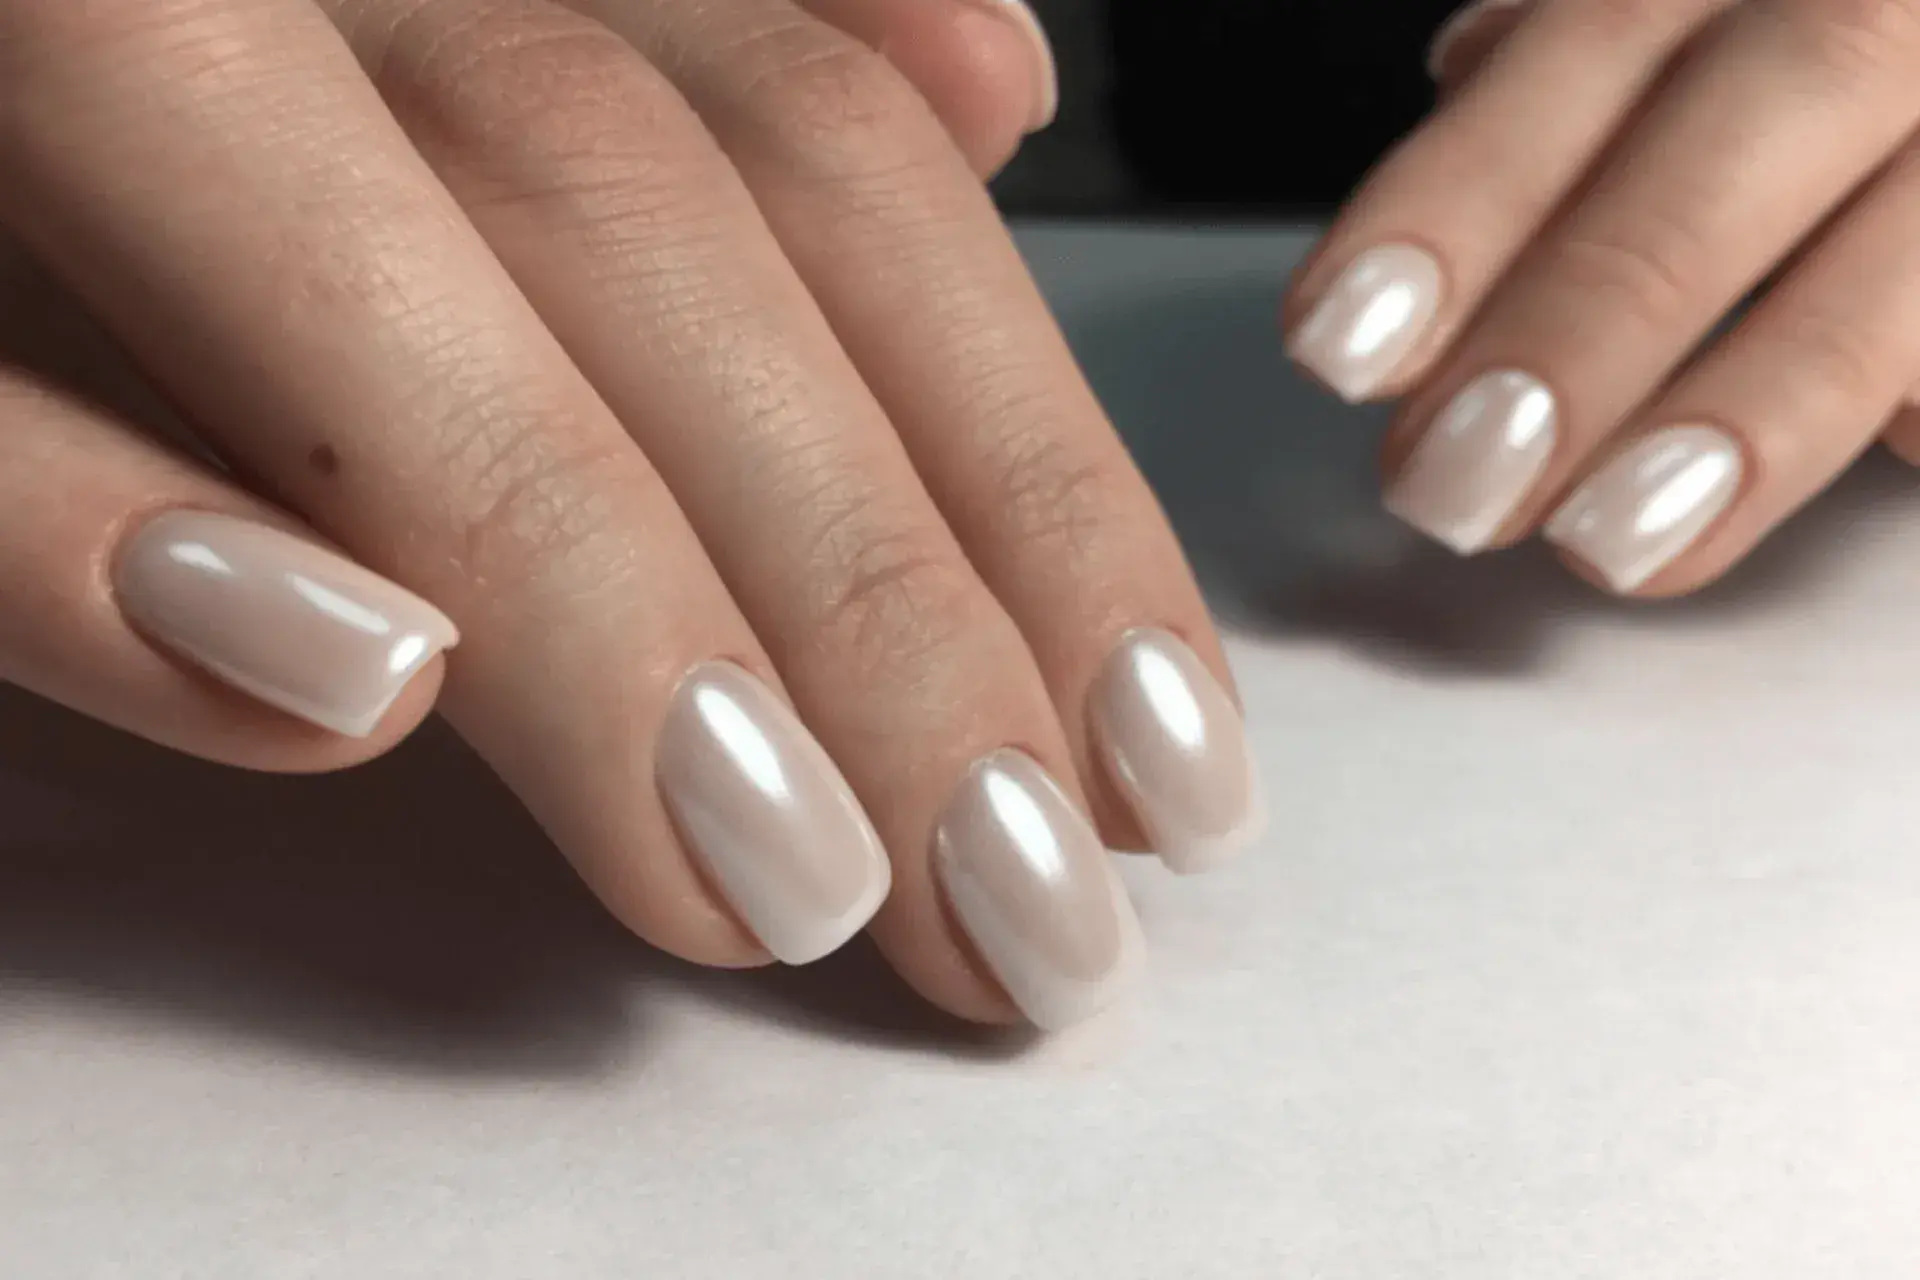
We girls love a neat manicure, but the classics over time get bored and we want something more original, unusual. Today we have prepared a step-by-step guide of stylish gradient nail design with a mirror pigment that you do not need an airbrush for.
- Prepare your nails: give them shape, cut a cuticle, use a buff, treat with a dehydrator, ultra bond, and cover with a base (it should be baked in a lamp).
- Apply a white gel polish. Apply in several layers if needed (bake each layer in a lamp). Remove the sticky layer, if any.
- Apply black gel paint at the root of the nail, mix it with a sponge. The less we press on a sponge, the less the gel paint will be reflected. Polymerize the image in the lamp.
- Similarly, apply another layer of black gel paint and blend it with a sponge.
- When you like the gradient pattern, get to the next step – cover the nails with a top without a sticky layer (dry it in a lamp) and apply chrome pigment starting from the base of the nail. With light rubbing movements, distribute the pigment, gradually stepping onto the white colour.
- To enhance the chromium effect, we take a shadow applicator and apply another layer of mirror pigment. After we have distributed the rub, remove the remains with a fan brush, polymerize the design.
- Then, cover the design with a non-sticky top layer (in order not to lose the chromium effect) and dry it in the lamp.
- Cover the nail with a top with a sticky layer and polymerize it in the lamp. Remove the sticky layer.
Stylish and original nail design is ready. You can see a video tutorial below

